
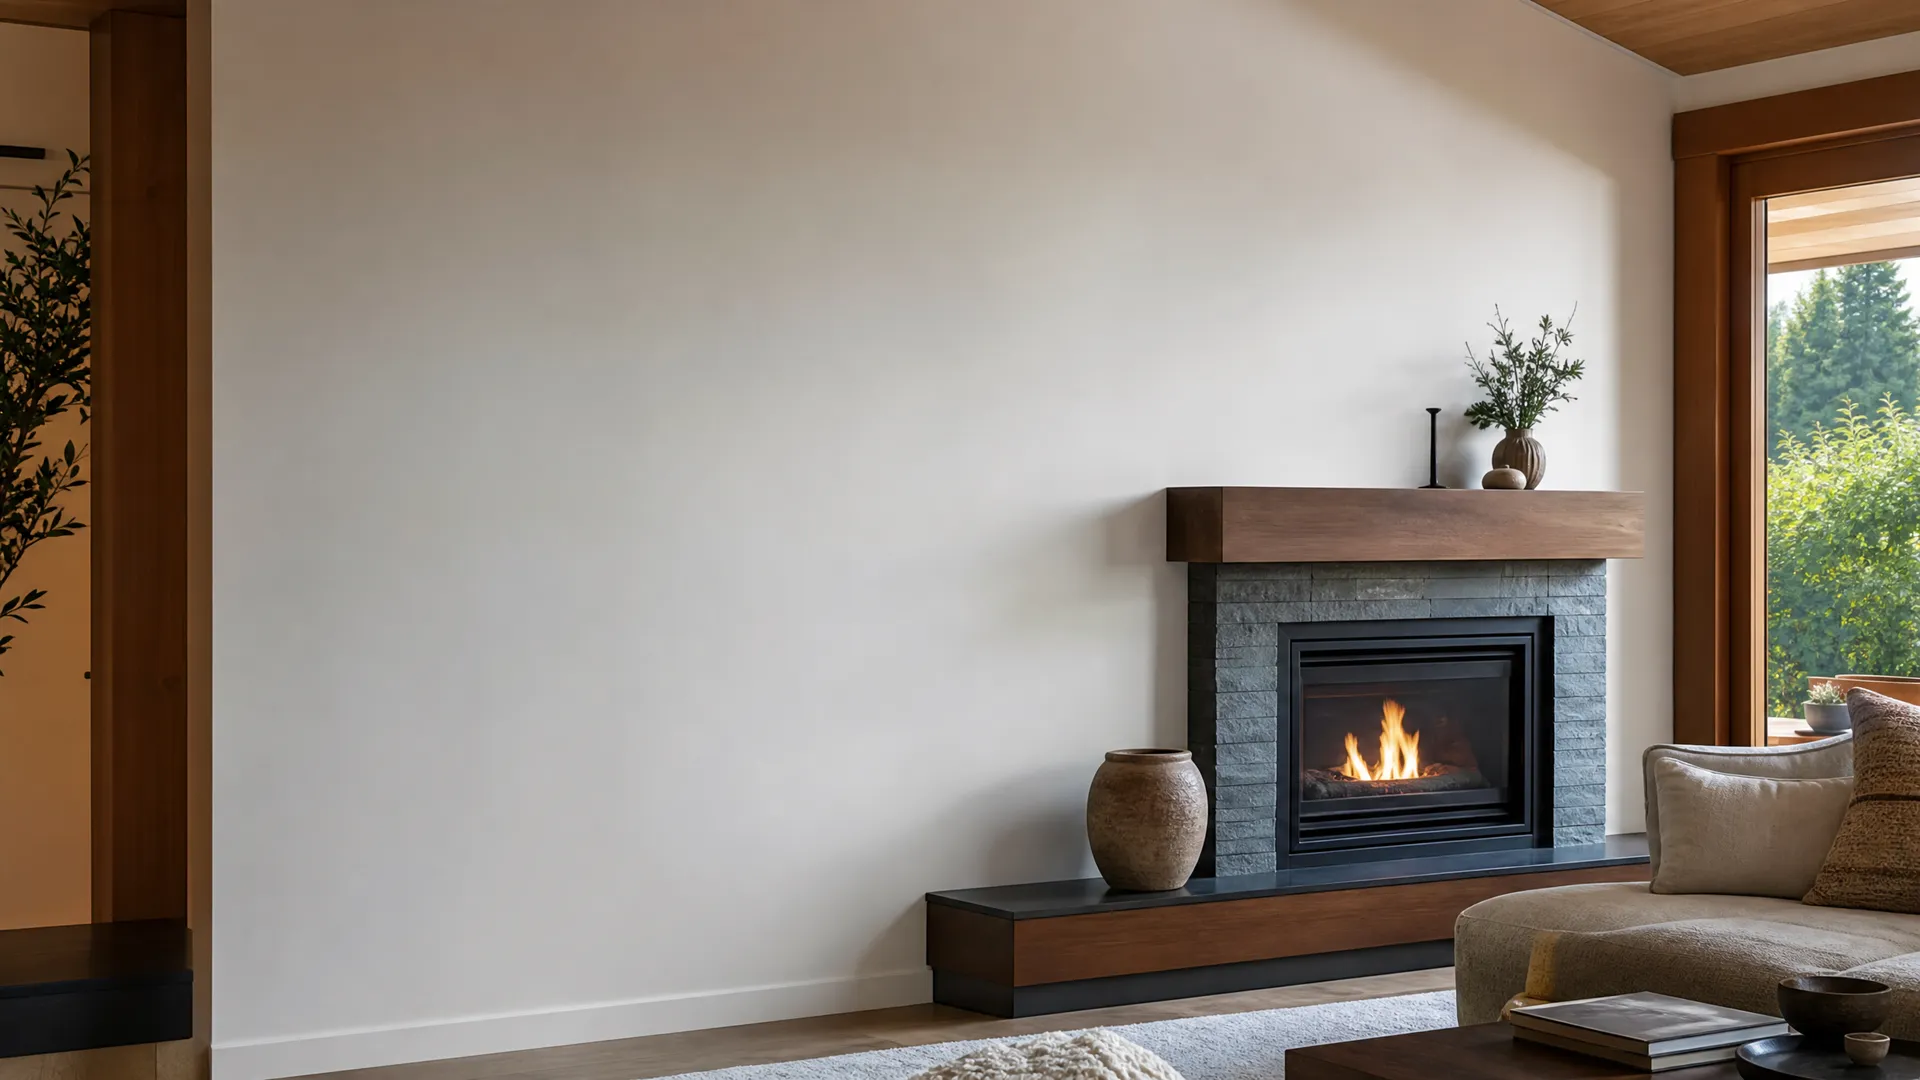
How the Project Came Together
The Challenge
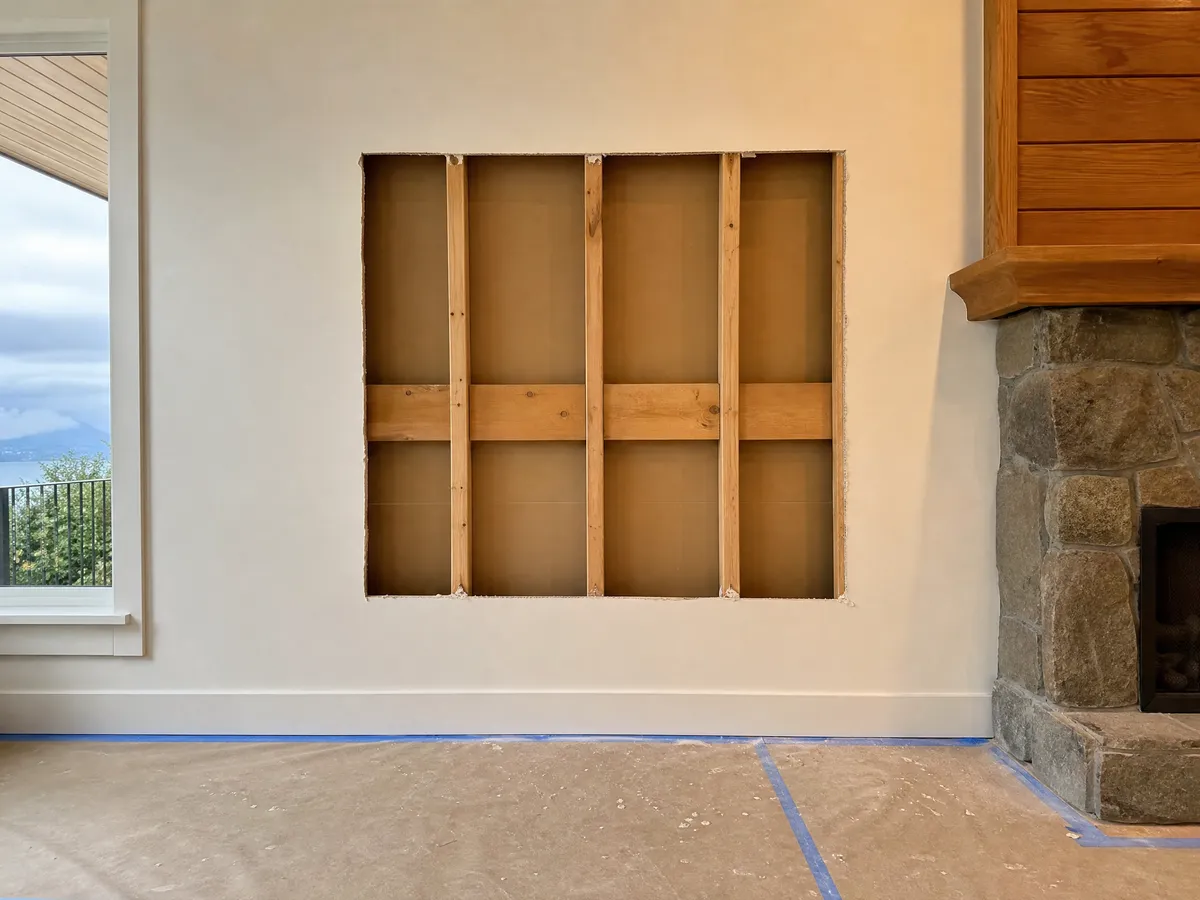
The opening was too large for a simple patch and sat in a highly visible living area where uneven edges or paint sheen would be obvious.
The Approach
Loose material was removed, the opening was squared, solid backing and new drywall were installed, and the repair was built up through controlled finishing stages.
The Result
The wall regained a smooth, continuous appearance with the damaged area no longer drawing attention in normal room lighting.
The Details That Made the Difference
Good results come from the decisions made before installation, the care taken during the work, and how well the finished project supports everyday use.
Planning the Work
The damaged area was checked beyond the visible opening to find loose gypsum and determine where sound backing could be installed. Existing wall texture, paint colour, sheen, and nearby light sources were considered because they influence how easily a finished patch can be seen.
Craftsmanship & Installation
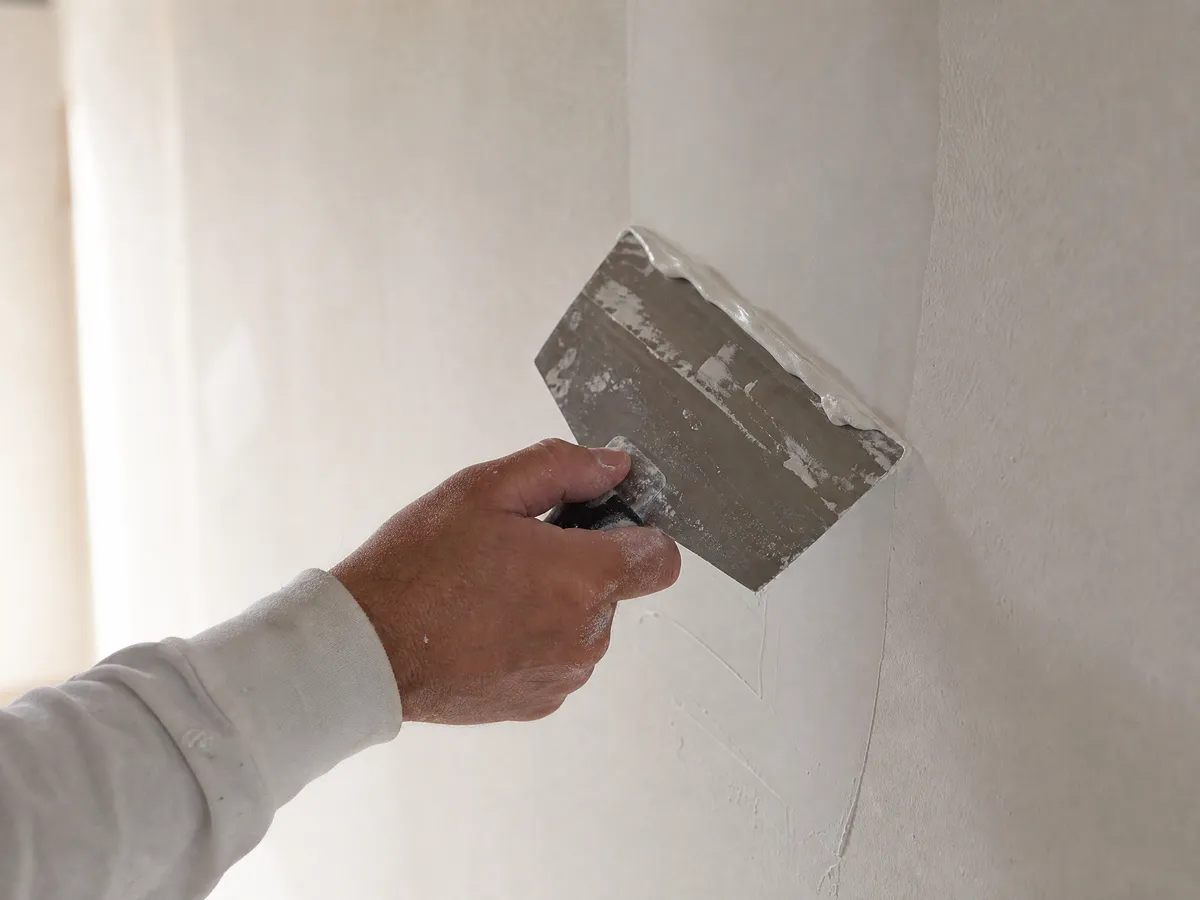
The opening was squared, reinforced, and fitted with matching drywall. Multiple controlled compound applications were feathered beyond the repair, sanded between stages, then primed so the final paint would not flash differently over the new surface.
Value for the Homeowner
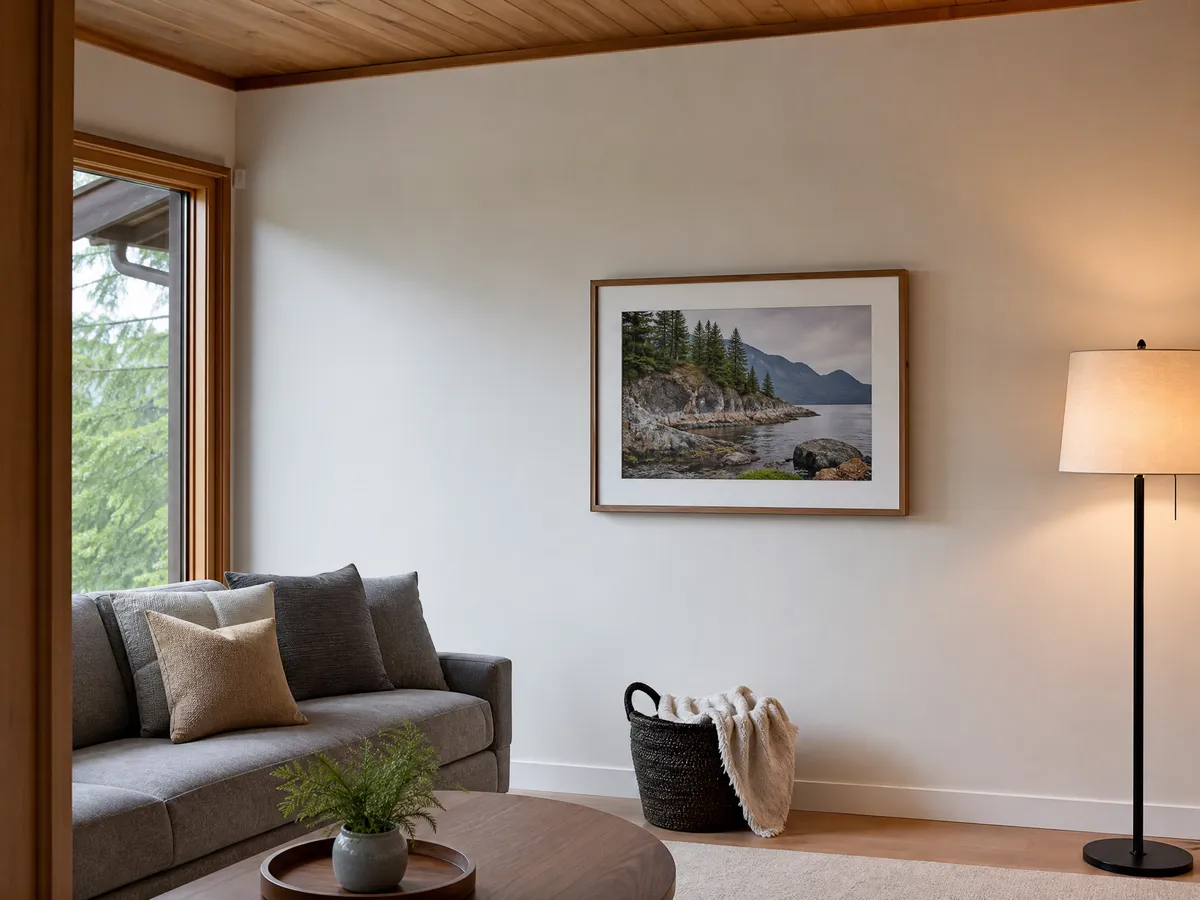
A structurally sound repair avoided replacing a much larger wall section. The careful finish returned the living room to normal use without leaving an obvious patch in a prominent location.
Key Improvements
Work Completed
- Cut out damage and fitted a secure backing board
- Applied compound coats and feathered the repair
- Primed and painted to blend with the existing wall
Materials & Finish Decisions
- Solid backing and matching drywall thickness
- Joint tape and staged finishing compound
- High-build primer over the repaired surface
- Colour- and sheen-matched interior paint
Have a similar project in mind?
Send Jeff a few photos and a short description for a clear, no-obligation conversation.