
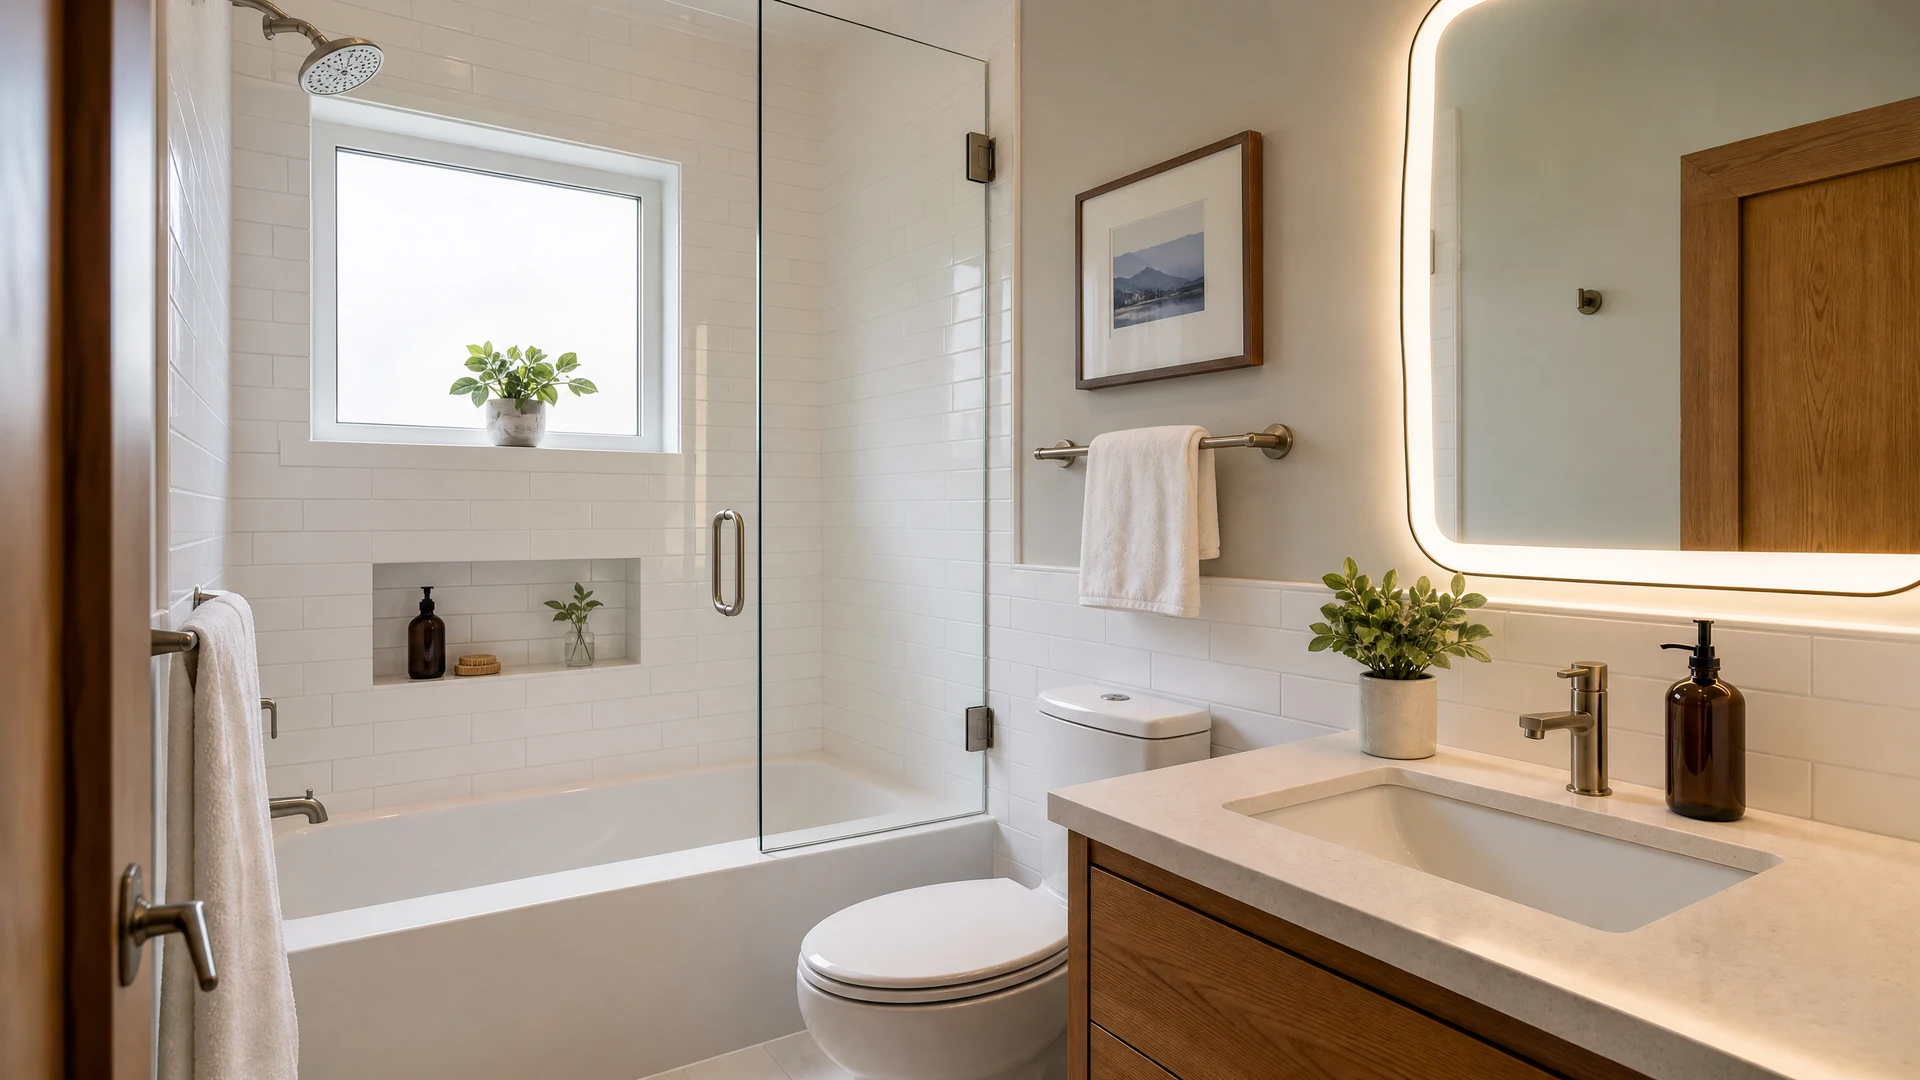
How the Project Came Together
The Challenge
The room was functional but visually dated, and aging caulking and accessories made otherwise serviceable surfaces feel worn.
The Approach
The sound room layout was retained while targeted finishes, accessories, tile details, and sealant were updated in a coordinated palette.
The Result
The bathroom feels lighter and more current without the cost, disruption, or waste of complete demolition.
The Details That Made the Difference
Good results come from the decisions made before installation, the care taken during the work, and how well the finished project supports everyday use.
Planning the Work
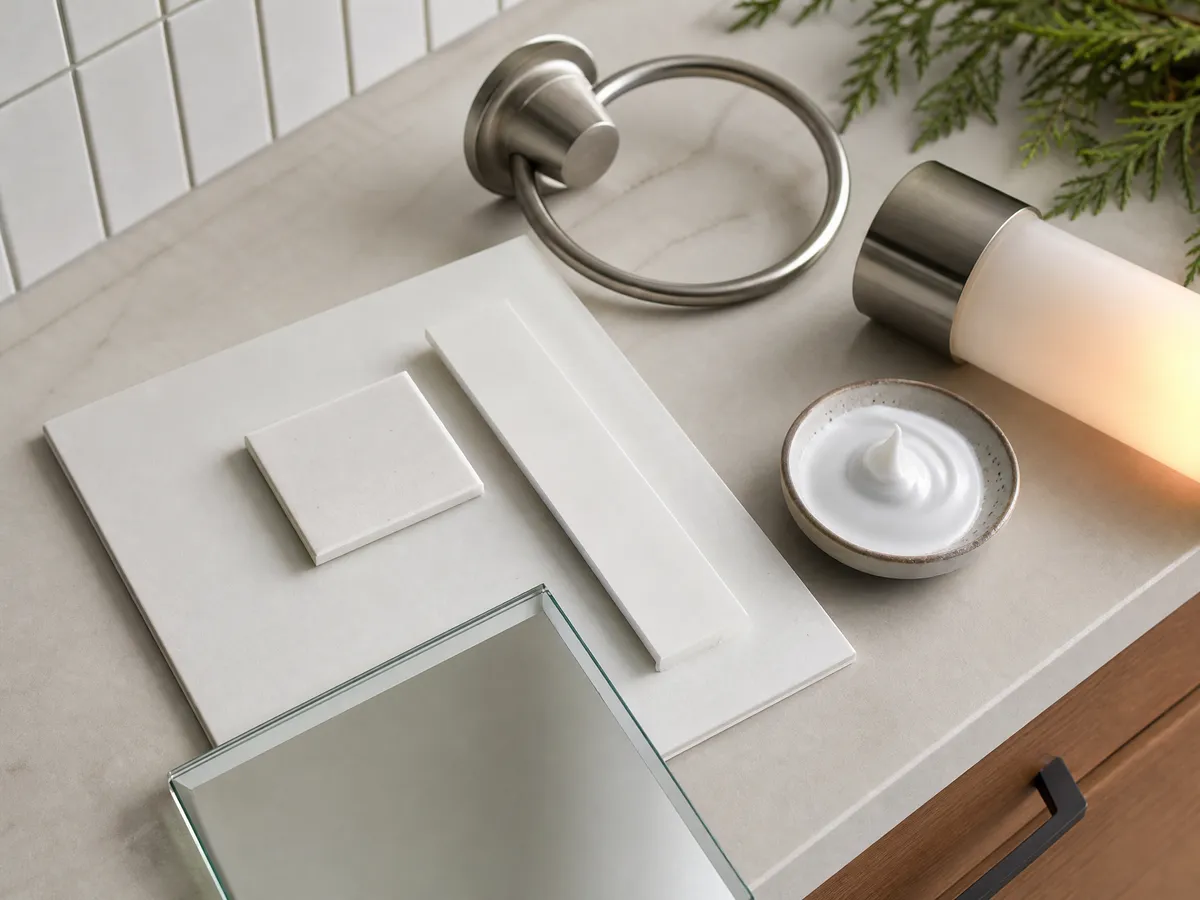
The existing layout and serviceable finishes were retained, then the most visible and moisture-sensitive details were prioritized. Finish colours, accessory heights, mounting locations, tile transitions, and sealant joints were reviewed as one compact update.
Craftsmanship & Installation
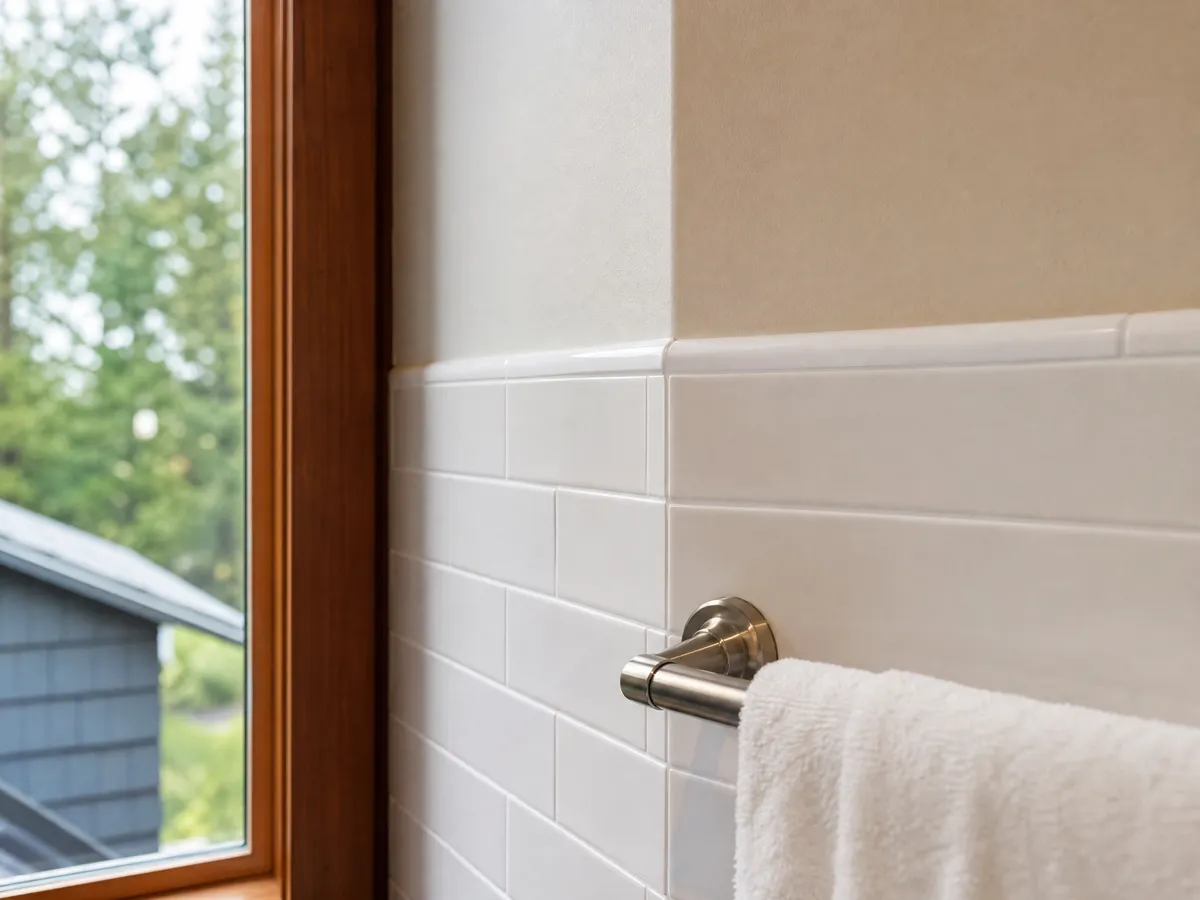
Old accessories and failed caulking were removed carefully to avoid unnecessary surface damage. New fixtures were aligned securely, tile details were finished cleanly, and wet-area joints received appropriate preparation before new sealant was applied.
Value for the Homeowner
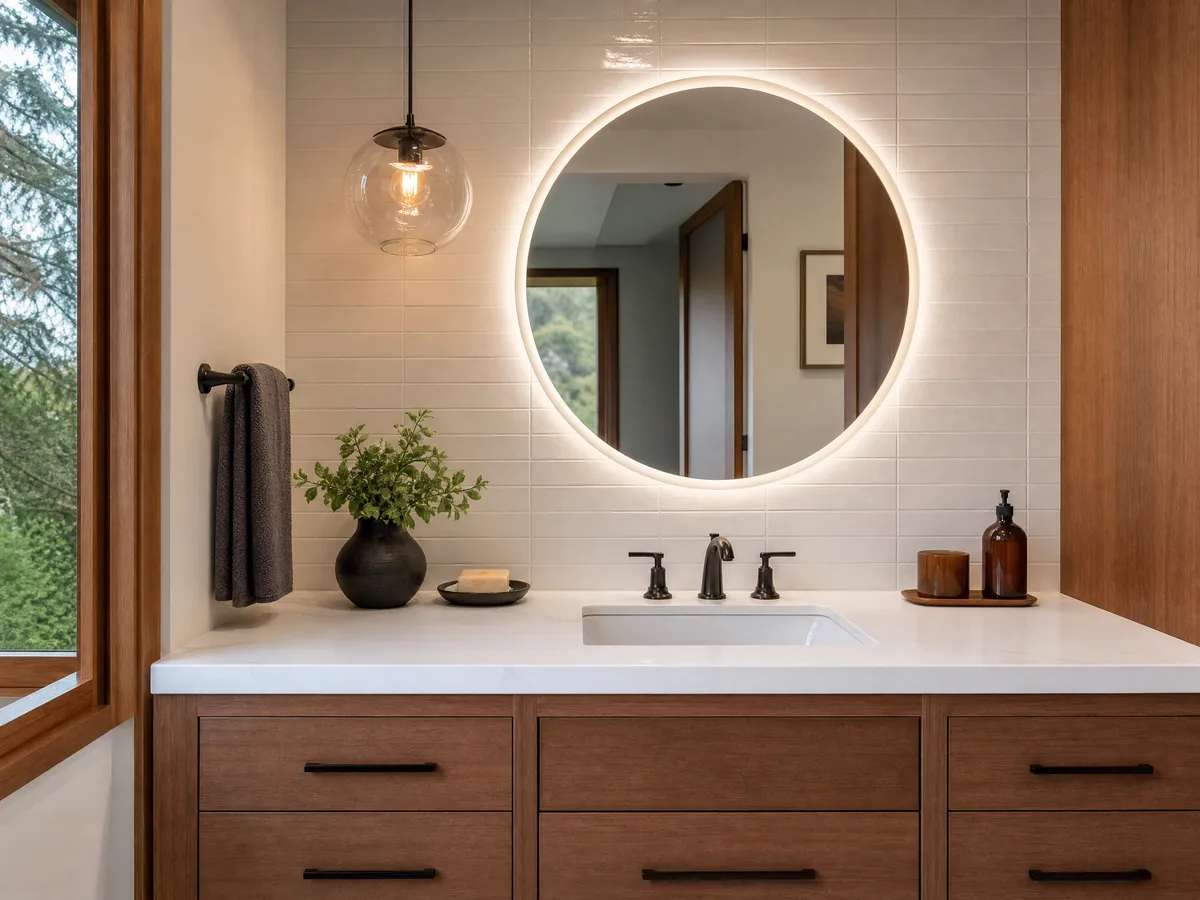
The room gained a fresher, more current appearance without the cost and downtime of rebuilding a functional bathroom. Renewed sealant and secure accessories also improved day-to-day maintenance and confidence around wet areas.
Key Improvements
Work Completed
- Updated faucet and bathroom accessories
- Renewed caulking at the tub surround and vanity
- Installed a modern backlit vanity mirror
Materials & Finish Decisions
- Brushed-nickel accessories and compatible anchors
- Subway tile, grout, and finished edge details
- Mildew-resistant bathroom sealant
- Backlit LED vanity mirror with coordinated electrical work
Have a similar project in mind?
Send Jeff a few photos and a short description for a clear, no-obligation conversation.